A few months back (meaning August!) when our little munchkin started getting more and more wild, and was suddenly running around everywhere and falling about 3838 times a day, we decided to get rid of our sharp cornered coffee table. It was the best solution to the problem, ie.; mom having 3838 heart attacks a day, seeing into the future of black eyes, blood, trips to the ER, stitches..etc., you get the picture. WELL, it may have solved that problem, but then arose the next one..where to put our coffee in the morning? Where can we rest our feet? Where are the remotes…oh in the couch cushions again? Where can we place down our food? (Yes, sometimes after the babe goes to bed, we order takeout and like to eat in the living room..so much more comfy.) It was getting annoying placing things on the floor next to us and knocking them over. Constantly.
One day, while perusing the oh so addicting time sucker that I love so much, Pinterest, (follow me ya’ll!), I came across this incredible DIY Ottoman. Ive wanted one forever but they’re sooo $$$$ for really nice, large ones. I had seen them done before, but not with a tutorial like this one. It was so detailed, with pictures, that it made me feel like I could do it by myself!! (I couldn’t!) Basically I wanted her exact Ottoman. I probably would have tried to pay her for it if she lived near me haha Anyways, after looking at the tutorial a bajillion times and then having my hubby look at it a bajillion more, we decided we would do it.
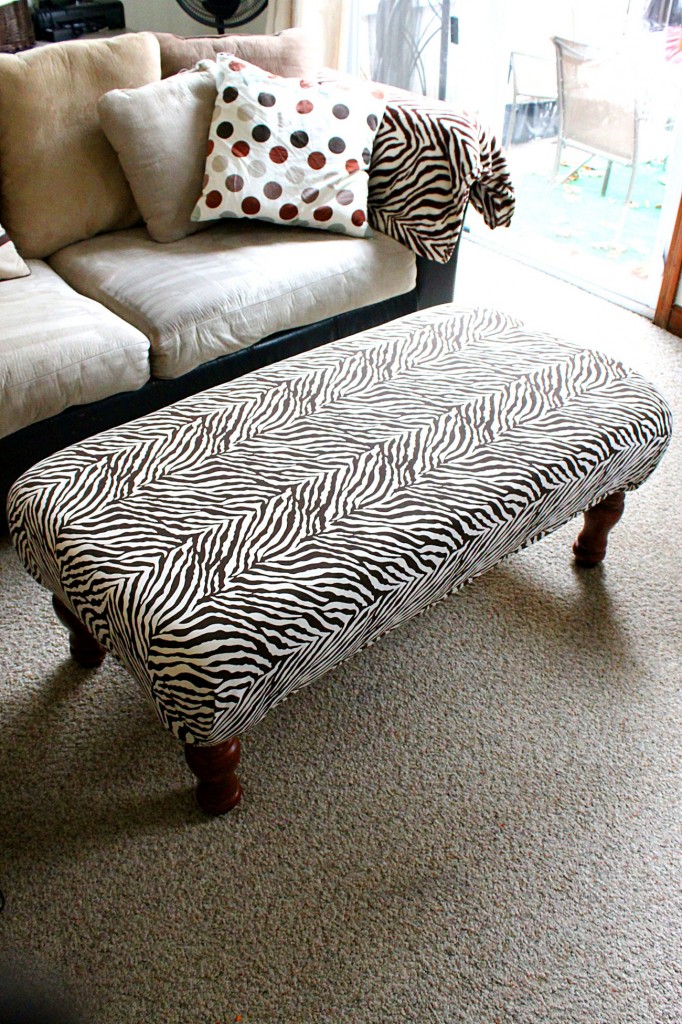
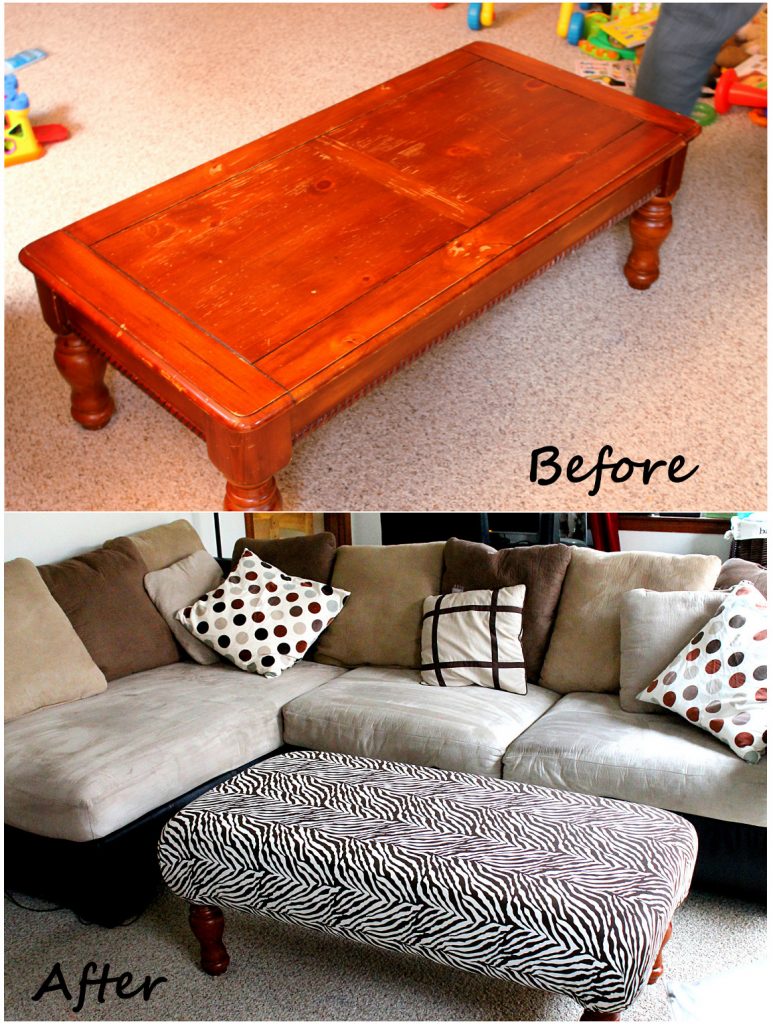
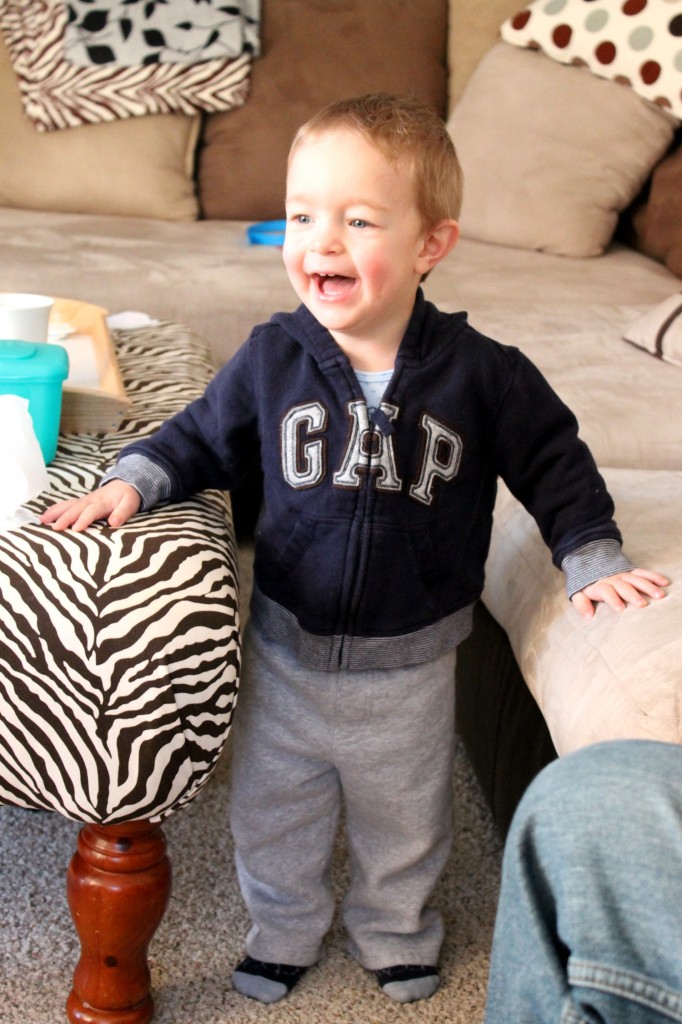
Soo we bought a coffee table off Craigslist, specifically for the legs, (which I still haven’t painted), shopped around and found some fun zebra printed fabric for $5.06 for 3 yards..I was thrilled! I wanted a ‘pop’ in our LR, it was getting pretty boring. And after gathering everything we needed, it sat..for almost two months before we finally decided to do the damn thang.
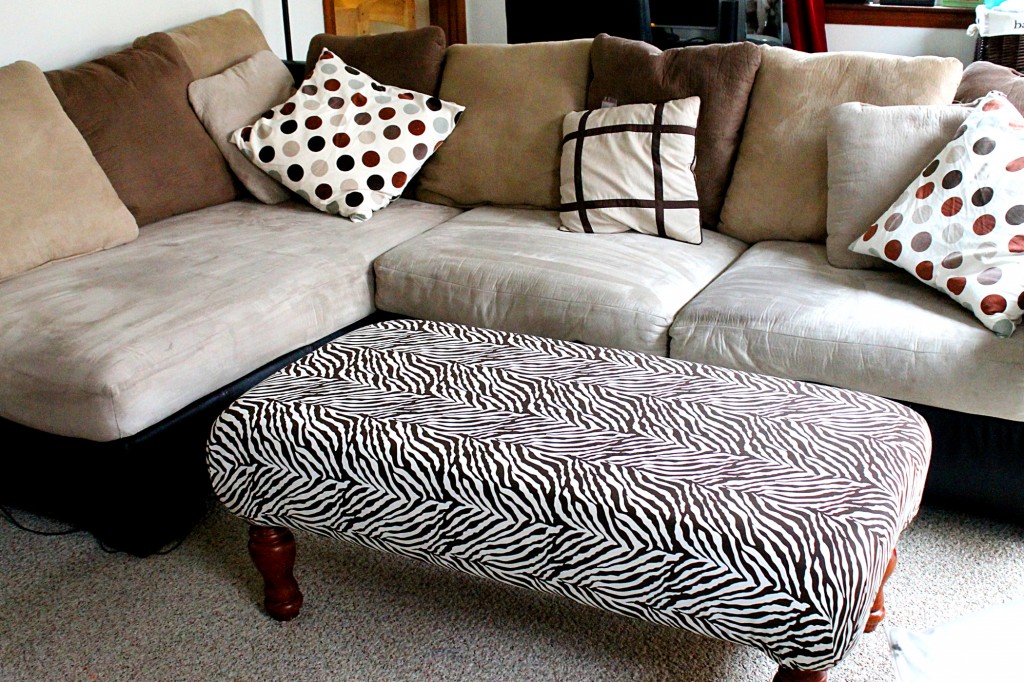
We finally did, it took about four hours..mostly because halfway through we started over..I ordered our foam cut to size from BuyFoam, as she had used. We shopped around, and it seemed this was the easiest and best priced way since it already came pre cut to size. We used 3″ Firm on top and 1 inch Firm on the sides. We probably could have gone with 2″ on top, but we’re glad we have the three, extra padding for our little boys cute head! 🙂
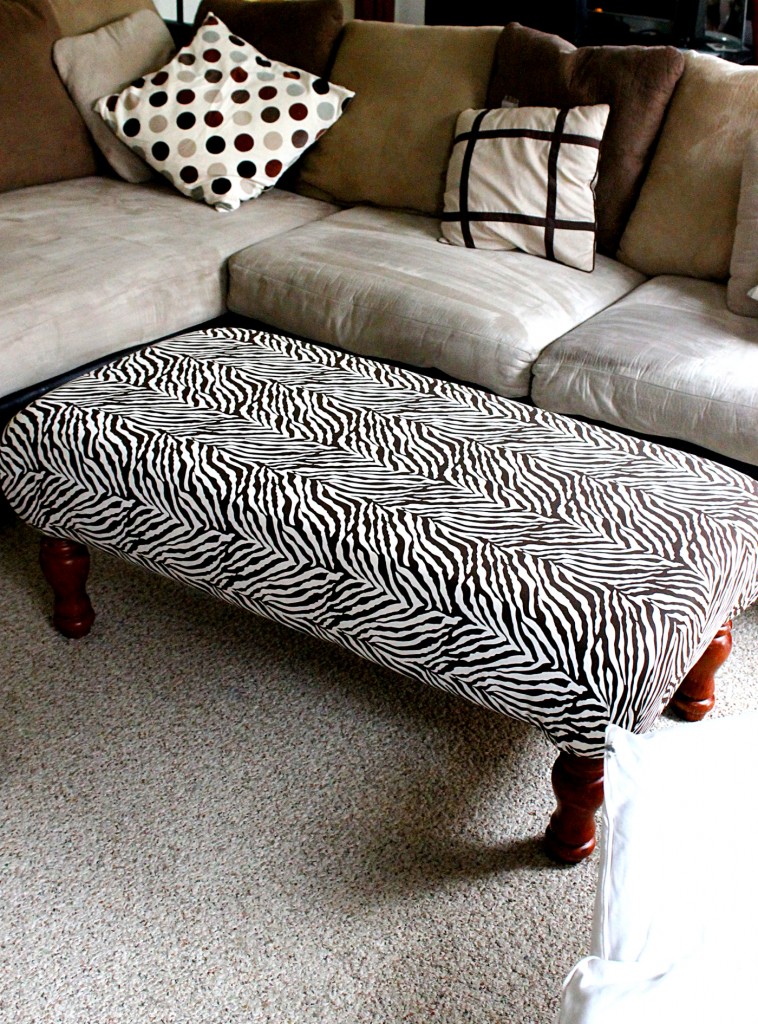
I am really happy with how this came out..I still need to paint the legs, but we don’t have a garage so now I’m waiting for warmer weather to do that! 🙂 If you ever plan on tackling a DIY Ottoman, this really is the best, most detailed tutorial I have found, she really breaks it down with pictures too. Also, grab a partner, you can’t do this alone! 😉